
This post may contain affiliate links. Please help support my blog by using these links while shopping at no additional cost to you. For more information about the affiliate program, see my disclaimer here. Thank you!

Hey everyone! My crafty friends and I are joining Altenew for the brand new Whimsical Fairy Tale Embossing Folder Release (ALT) and Blog Hop! Thanks so much to Jennifer McGuire for relaying you over to my blog.
If you want to relive the amazing project ideas from the team of designers for this release, head back over to the Altenew Card Blog or keep reading to find the complete blog list. Don’t miss the wonderful giveaway opportunities as well–more on that down below!

March 2022 Whimsical Fairy Tale Embossing Folders

Stash Busting Patterned Paper Embossed Frame

I am sure many of you have a stash of patterned paper. I took one of the panels in my stash and embossed it with the Scalloped Frame 3D Embossing Folder. I blacked out the majority of the paper with black ink to bring depth to the embossing folder.
How To Make This Embossed Card
- Apply Obsidian Pigment Ink to the ‘text’ side of the Scalloped Frame 3D Embossing Folder. Align the patterned paper and letter press the ink onto the patterned paper.
- Die cut the Circled Greetings: Love Die from cream colored cardstock. Use a nesting circle die to cut the window rom the cardstock leaving a stand-alone image.
- Glue the die cut sentiment to the center of the embossed frame. Add white splatters with Pure White Ink Spray.
Supplies You Need to Make This Card

Scalloped Frame 3D Embossing Folder |

Circled Greetings: Love Die |

Obsidian Pigment Ink |
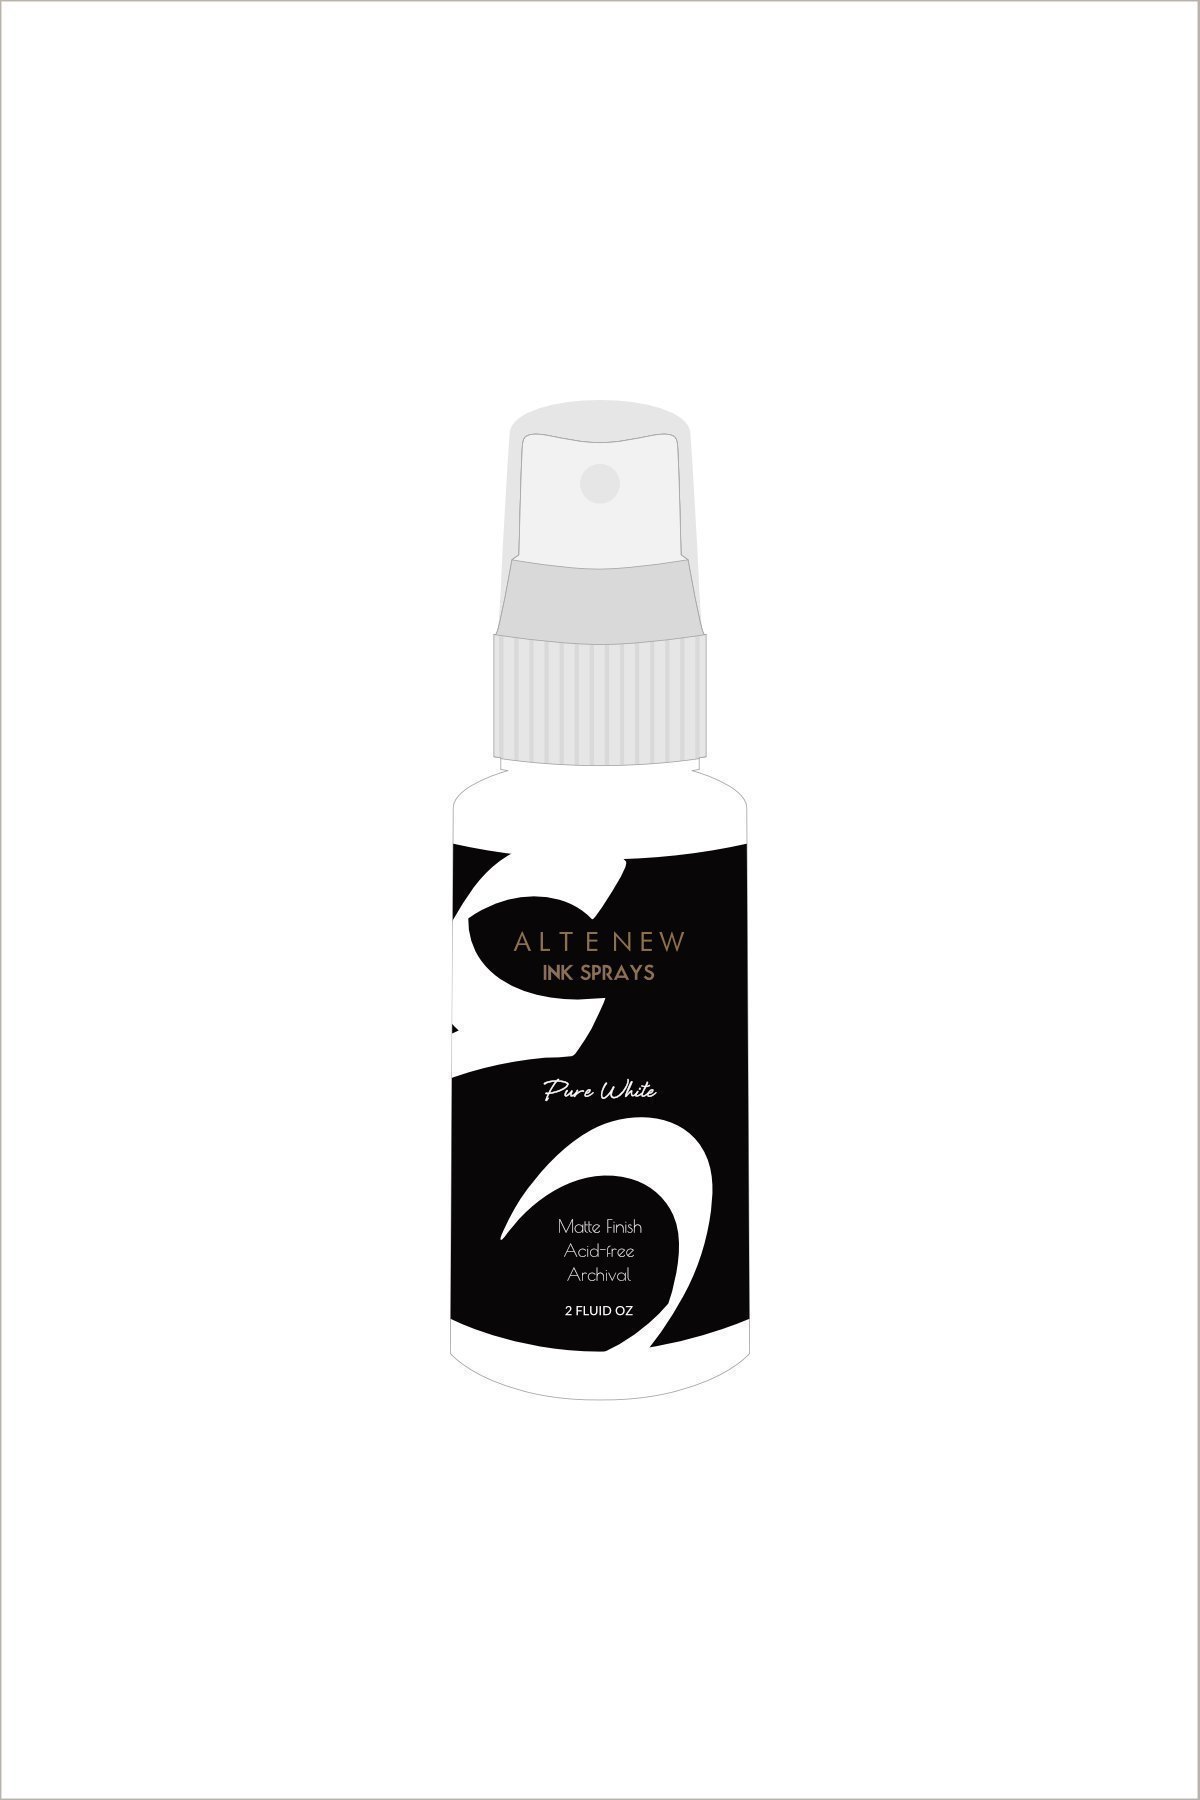
Pure White Ink Spray |
Jewels and Diamonds Gold Embossed Background

The Checkered Diamonds 3D Embossing Folder reminded me of lens flares. I tried to capture that bright and shiny feeling in this card. Like the previous card, this card was easy to recreate with a few inking techniques.
How To Make This Embossed Card
- On a watercolor panel, ink smoosh Altenew Mixed Media Ink. I used inks from Red Cosmos and Glacier Caves.
- Apply Enchanted Gold Pigment Ink to the embossing folder and letter press the ink onto the watercolored panel.
- Die cut the sentiment from gold glitter cardstock. I used one of the sheets from Gilded Glitter Cardstock Set.
Supplies You Need to Make This Card

Checkered Diamonds 3D Embossing Folder |

Red Cosmos Pigment Ink Bundle |

Glacier Caves Pigment Ink Bundle |

Mighty Alphabet Die Set |

Glitter Cardstock Set-Gilded |

Enchanted Gold Pigment Ink |
Mother’s Day Peony Embossed Card

Die cut inlay technique? How about embossed inlay? After embossing the main peony image, I also embossed the letter dies and overlaid them where the embossing appears in the background.
How To Make This Card
- Emboss a white panel of cardstock and use the letterpress ink technique to color the panel with Red Cosmos Mixed Media Inks.
- Die cut the MOM sentiment from Caps Bold Alphabet Die Set.
- Use the same Red Cosmos Pigment Inks to letterpress the previously die cut letters.
- Foam mount the letters using Instant Dimension Foam Tape, overlaying them on top of the coordinating background layer.
Supplies You Need to Make This Card

Peony Sunshine 3D Embossing Folder |
Red Cosmos Pigment Ink Bundle |

Caps Bold Alphabet Die Set |

Instant Dimension Foam Tape |
More Ways to Shop


How to Enter the Giveaway

$300 in total prizes! To celebrate this release, Altenew is giving away a $50 gift certificate to 2 lucky winners and a $25 gift certificate to 8 winners! Please leave a comment on the Altenew Card Blog and/or each designer’s blog post on the blog hop list below by 03/31/2022 for a chance to win.
Altenew will draw 10 random winners from the comments left on each stop of this blog hop and announce the winners on the Altenew Winners Page on 04/02/2022.
Thank You for Visiting My Blog
I really appreciate you stopping by and participating in this blog hop. If you like what you’ve seen from me, please give me a follow over on my Instagram (@jaycee.gaspar) and/or subscribing to my blog and YouTube if you haven’t already.
Please Visit Cheryl Espie‘s Blog Next
Jaycee Gaspar
Reiko Tsuchida ***Note: Due to strict regulations in Japan, you might not be able to leave a comment on her blog post.


All stunning designs but the mom card is my fav
LikeLike
Beautiful!
LikeLike
That Mom card is so beautiful.
LikeLike
Gorgeous cards, I’m inspired!
LikeLike
Your awesome creations never fail to amaze me! I study them to see how you write what you did to achieve the beautiful results and then still have problems with imaging them in my mind as they are so unique! Wish I lived closer to you so I could actually attend some of your classes in real life, but glad we can view them online! Your projects make me want to buy all the products you used to create them!!
LikeLike
All your cards are just so grand.
LikeLike
Always amazing inspiration!
LikeLike
Wow! Awesome cards! I love the big gold sentiment on the checkered one!
LikeLike
I love the pink Mom card; just gorgeous!
LikeLike
Beautiful cards with the embossing folders.
LikeLike
Beautiful cards. Love all the ideas.
LikeLike
Love, love, love the peony card!
LikeLike
Your mom card is wonderful
LikeLike
The “mom” card is really pretty.
LikeLike
What inspiration! I never would have thought to use black ink like a mask on patterned paper. And using the debossed side to letterpress ink, brilliant!
LikeLike
Love the embossed “inlay.” i have never seen that done before. Absolutely beautiful!
LikeLike
Simply stunning.
LikeLike
I’m going to have to get that peony embossing folders. The Altenew 3D embossing folders are my favorites and I have quite a few in my collection now.
LikeLike
LOVE these ideas, Jaycee. In particular, I’m in need of stash busters like the one you posted — it’s excellent! Thanks! The others are wonderful too.
LikeLike
I love the first card with the lattice embossing and the ink blending of all the beautiful pastel colors!
LikeLike
That Mom card made my breath catch. Beautiful.
LikeLike
Beautiful cards! Love the colors and designs.
Thanks for sharing.
LikeLike